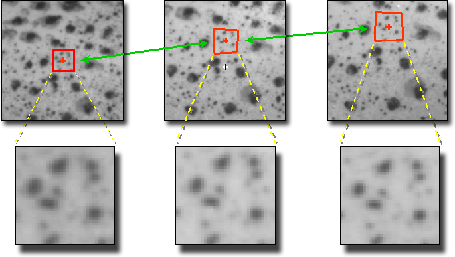
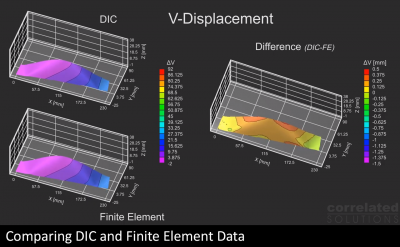
Digital Image Correlation (often referred to as “DIC”) is an easy to use proven optical method to measure deformation on an object surface. The method tracks the gray value pattern in small neighborhoods called subsets (indicated in red in the figure below) during deformation. Digital Image Correlation has been proven over and over to be accurate when compared to valid FEA models. The commercially available VIC-2D and VIC-3D systems from Correlated Solutions both utilize this advanced optical measurement technology.
Digital Image Correlation Overview
Below are the reasons why its versatility, robustness, and ease of use make it the only choice when it comes to digital image correlation.
Two-dimensional Example
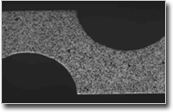
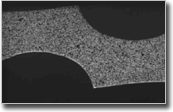
In the two pictures below you can see a speckle pattern on an aluminum sample with two offset semi-circular cut-outs. The two pictures were taken from an animation with the left image taken from the beginning and the right picture taken from the end of the animation. Since the deformation is predominantly in-plane, a single camera can be used to measure the deformation.
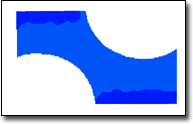
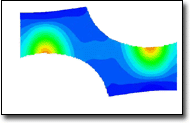
The pictures below show the horizontal strain measured by two-dimensional image correlation for the pictures shown above.
Three-dimensional Example
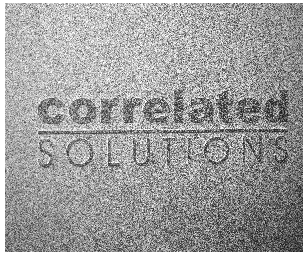
These two speckle images below were taken simultaneously with the left and right camera of a stereo-system. The sample itself is a piece of glass with the company logo sticker adhered to the surface. The speckle pattern was applied using standard off-the-shelf flat white and black spray paint. Can you make out the shape?
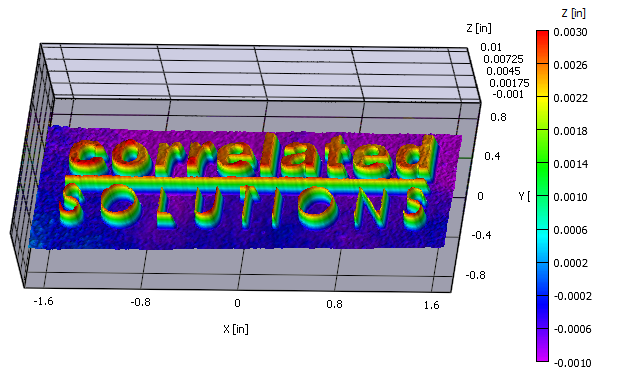
In the plot below the shape of the logo sticker measured with the VIC-3D System is shown. The thickness of the logo sticker is approximately 0.003″ or 0.070mm.

